Showing posts with label DIY The Look. Show all posts

Sunday, May 15, 2011

DIY The Look: Lesson 10


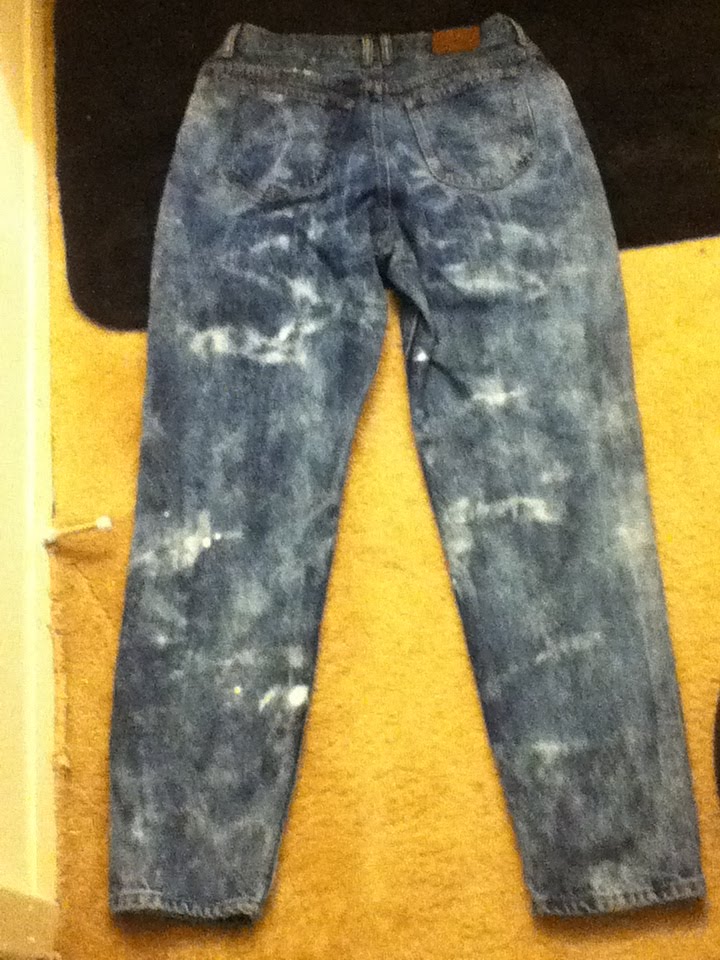
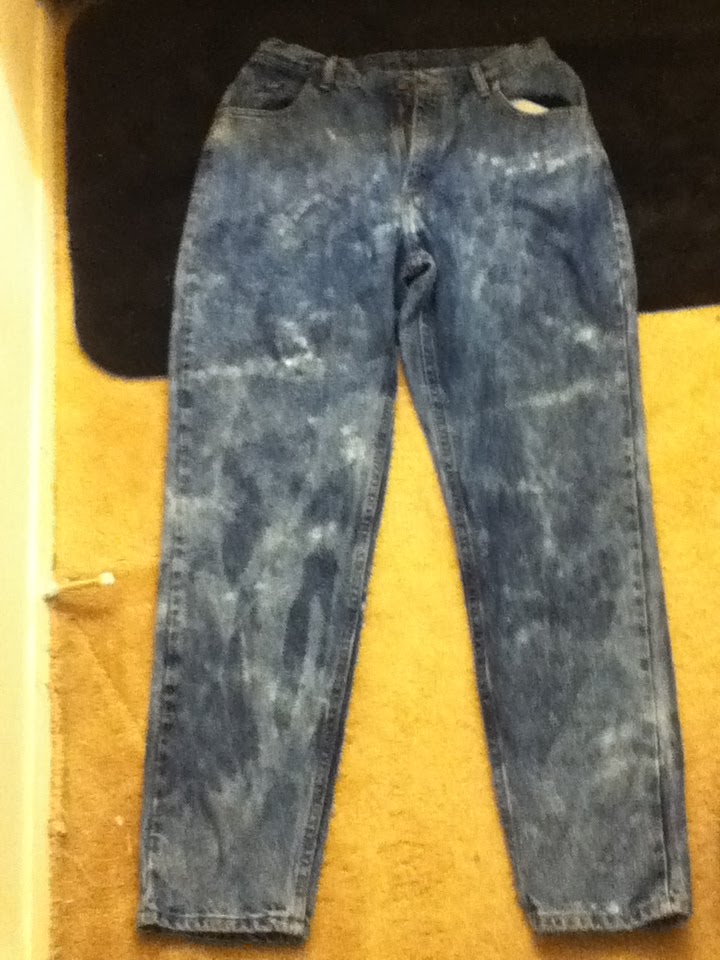
Hey folks!!! After, Like, a year I'm back!! Here's my latest projects as published.


Here's how to do it:
Materials:
Bleach
Bowl
Paint Brush (The bigger the better)
Scrubbing Brush

Uh, your JEANS?

First you need to dampen your jeans. Pour some bleach into a bowl to get started....
Lay your jeans out on a surface that won't be affected by bleach. Take your scrubbing brush and "scrub" both sides of both of the legs of your jeans. Let it sit until the jeans are 2-3 shade lighter than before. Rinse them and survey the damage your work.
Like it? Good! You are ready to bleach!!
Here are the two techniques I used:
Splatter:
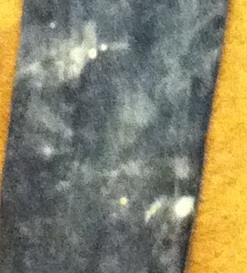


This one is simple: Just dip the paintbrush in bleach and "throw" the bleach onto the jeans (using the paintbrush) as you would if you were splatter painting. Let it sit until you see white. 

Tie dye:
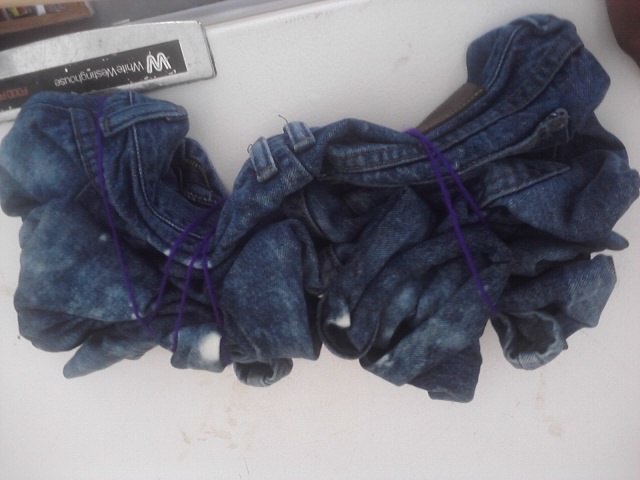
To do the tie dye technique I scrunched the legs of my jeans up like this:

 
Then using my paintbrush, I painted the exposed fabric with bleach. After this, I let it sit for ten minutes, turned the jeans over and let sit for another ten minutes. When I was satisfied with the color, I rinsed the bleach out.

Wash your jeans and wear them =)


Friday, July 23, 2010

DIY the Look: American Apparel Edition pt 1 ((RESULTS))


I used a really old Black turtle neck:


I'm currently making another one as I post this........
Tutorial  HERE

Tuesday, July 20, 2010

DIY the Look: American Apparel Edition pt 1.


American Apparel Acid Wash Scarf
So I saw this scarf while scroll shopping on the American Apparel page.....
Oh American Apparel!
What's a sista to say about you?
That your $40 dresses cost me $3 or less to make?
That I can make most of the stuff in you in less than 1 hour? Alas, the musings are endless!
But seriously, American Apparel was the original inspiration behind the whole DIY the look series. Before I started blogging, my home gurl Roro and I would troll the shop nearby our school and I would marvel at how much stuff I could totally make at home. Then I started noticing the same thing in other stores. Then I found tons of fabric........

The rest is history.

Anyway, on to the DIY:

Heres what you'll need:
1 T-shirt
Bleach in a bowl
Scrub brush
Rubber gloves
Scissors

1. Wet your t-shirt and ring out some water.
2. Dip the brush into the bleach and let any excess drain off
3. In a slashing motion, lightly "scrub" random areas of your shirt, until you have "scrubbed" every section of the shirt.
4. Let it soak, and check for color change until you are satisfied.
5. Wash and dry.
6. Cut the bottom of the shirt using the following instructions:


DONE!!!
Hey, keep the top piece as a cropped top! Layer it with some t-shirts, or wear it just so!

Btw, you will be seeing quite a few more of these American Apparel DIYs, at least until I find somewhere else to pick on.......

Peace!

Tuesday, June 08, 2010

Five minute Dress!!


Got an old tee lying around? Turn it into a dress in five minutes! (Click Here)

Wednesday, June 02, 2010

Diy Hair Accessories


Ladies, get your glue gun ready, Elle magazine has 4 runway-inspired hair accesories DIYs. I loved them so much, I just had to post it! Click here for details!

Btw, the laptop is back....still messed up, but back......


Monday, May 17, 2010

DIY the look: 30 minute necklace


Sorry for the absense! My laptop is SHOT, and until I get a new one, things might be a lil shaky, so I'll just go ahead and apologize ahead of time =). On to the post:


You can make that in 30 minutes!!! Click Here for a tutorial!
Now I know the tutorial calls for some sewing machine, but if you want, you can make the "chain" longer, knot the ends and a bow at the back to wear it a different way!


Monday, May 03, 2010

DIY the look: Lesson 9


So I was trollin' Cut Out and keep and found this dress:


Its called the "infinity dress" apparently it originated in the 70's and can be worn as many ways as the owner can think of, including as a skirt. Well the dress also happens to be really easy to make. As simple as cutting four shapes and sewing one seam. Just follow this tutorial: over at Rostitchery (Click here)


Tuesday, April 27, 2010

T-Shirt Necklace: My version


My pride and joy!!
I braided the back piece and sew it to the front piece

Wrapping detail

Note: This Necklace is a variation of this necklace.

Update: Tutorial in the works!!!

Monday, April 26, 2010

DIY the look: Lesson 8


This week on DIY the look, We are going to explore ways to make the above necklace. Here is the tutorial for the the base necklace (There is a link at the top tutorial, ignore it, the tutorial follows).

You can trick out your new necklace the following ways:
1. Stud it (Will look something like the necklace above.)
2. Add necklace Charms
3. Combine multiple colors (Just cut each strip shorter, wrap and then combine) 
4. Add beads.
5. add chains or pearls to the necklace
6. Add a bow or flower

Best of all, this can be made in under two hours!!
If fact I made a variation for myself! (Pics will be posted sometime this week)
I'd love to see some pictures or your versions of this rad necklace!


Monday, April 19, 2010

DIY the look: Lesson 7


Have you ever wanted a pair of Distressed jeans, but saw that dream unfulfilled by an $200 price tag? Problem solved! Here is a guest post I wrote a while back on studding and distressing a pair of jeans. (Click here)


Monday, April 12, 2010

DIY the look: Lesson 6


Items in this set:
Stud Shoulder Crop Tee, $40
Mink Turn Up Casual Shorts, 22 GBP
Beth Natural Heart Shoes, 170 GBP
Large fabric bag Women, $770
Superb Vintage Ted Lapidus Paris Black Gold Sunglasses, 140 GBP

Today we are going to DIY the Stud Shoulder Crop Tee. To get this look all you need is a top, preferably a tee or a button up. A plain muscle shirt could also work. You also need studs and  tweezers/pliers. To buy studs at cheap prices check out Crust Punks, Studs and Spikes, or Angry Young and Poor, where you can buy them under five dollars in bulk. Absolutely do not bother buying the bedazzler (Just saying.)! Also try holding on to those old studded belts, studs can be recycled.

Ready? Let's go!

1. Mark out where you will place your studs (Around pockets and on the seams are great places). Hit the web for some inspiration if you are stuck. Once you know where you are putting your studs, it’s time to put them in.

Note: The underside of the stud has two spokes.

2. You are going to put the stud over the place you plan to put it with the spokes poking out the underside of the fabric.

3. Push the spokes through and turn to the underside.

4. Use your pliers or tweezers to push those spokes in so that the underside looks like my favorite emoticon : >.<
Continue to stud along your marking until you are finished

5. Wear that thing!!


Monday, April 05, 2010

DIY the look: Lesson 5


Today we'll DIYing the slash-back cardigan. Is really simple, all you need is tailor's chalk, a razor, and a long fly away cardigan.

Got the stuff? Lets go!

1. Draw a Straight vertical line down the middle of the cardigan's back.
2. Starting at approximately three inches below the neck line, dot the line making the dots three inches apart    from each other. These will help mark where the slashes are going to be.
3. On the first dot mark a horizontal line the size of the slash mark you plan to make (I'd recommend about 5 inches)
4. Continue marking slash lines along the dots (Note: You can do just about anything with the slash line including making shapes!)
5. Once you have finished marking your slash lines, use your razor and slash that thang up!!!
6. Wash the cardigan to remove any stray fibers.

You've just saved $1,735!!

Enjoy!!!


Monday, March 29, 2010

DIY The Look: Lesson 4


To make a t-shirt dress like the ones above, all you need is a loose fitting button-up shirt.

Got the shirt? Here are some ways to customize it:

1. Cut off the sleeves completely or cut off the cuffs of the sleeve and roll it up.
2. Belt it! Use a ribbon or belt to cinch the waist.
3. Uh....WEAR IT!!

Super easy eh?


Monday, March 22, 2010

DIY The Look: Lesson 3


I have naturally kinky-coily hair, and have just loosed it from a three week twist-out. I was looking around the web for my next hair styling idea and came across these:

 They are called Curlformers. There is alot of talk in the curly community about the curl definition this product gives, without any heat or mess. Peep the results:
 This lady has a naturally kinky hair texture. See how nice and straight her roots are?
Did I mention that this works on all hair textures? JACKPOT!!!!

But at £35.50 (British Pounds, approximately $53.32 USD) What is a broke diva to do?

Well there are FREE alternatives. Yup, all you need to do is look around your household....

You can use 1 of three things: strips of fabric (Fiber free), strips of newspaper, or strips of plastic (Plastic bags, freezer bags, etc.)
  
Make sure to moisturize you hair beforehand. A little gel for hard to curl hair will also do.

Note: If you have hair that tends to frizz, wet and mousse your hair beforehand. But, don't use newpaper strips!!

The instructions are simple:
1. Roll your hair on the strip the way you would with a curler.
2. Securely tie the ends of the strip in a loose knot
3. Tie your hair down and sleep on it.
4. Take out and style.

Now, there are other ways to cheaply curl hair i.e. Straws, soda cans, pipe cleaners, but we'll save that for another post... 


And of course if you'd like to make the investment and get yourself a pack, head on over to the curlformers hompage. or Sally's Beauty.


Monday, March 15, 2010

DIY The Look: Lesson 2


To get this look all you need is a top that doesn't have any graphics on it, the desired image (Reversed), a Printer, Iron-on transfer paper, Scissors, and an Iron.

1. Test the image by printing on regular paper first.
2. If necessary, resize the image so that it fits on one sheet of  paper.
3. Put transfer paper into the printer and print image again.
4. While the picture prints lay the top on an ironing board as you would when ironing it.
5. Place a piece of paper under the spot you plan to put the iron on to prevent bleeding.
6.  Place the transfer on the top with the image facing the fabric
7. Iron the transfer on following transfer paper package directions.

Tip: To help the transfer last longer, outline the transfer with fabric paint.

Oh, and don't forget send a pic of your masterpiece!


Monday, March 08, 2010

DIY The Look: Lesson 1


As you can see, the slit sleeve pullover is $350, but you can totally make it yourself!


To get that awesome sweater just follow these simple instructions:
1. Mark the spots you plan to cut
2. Cut The spots you marked
3. Wash The sweater
4. Wear it and send a pic on over!


LinkWithin

Related Posts with Thumbnails